Our Trailer Renovation: The Big Reveal!
A couple of months ago, I blogged about our first trailer renovation. Today, I’m excited to share the big reveal!
This is actually more of a trailer makeover than a trailer renovation as the changes were cosmetic, not structural. Word choice aside, we love the results! Take a look:


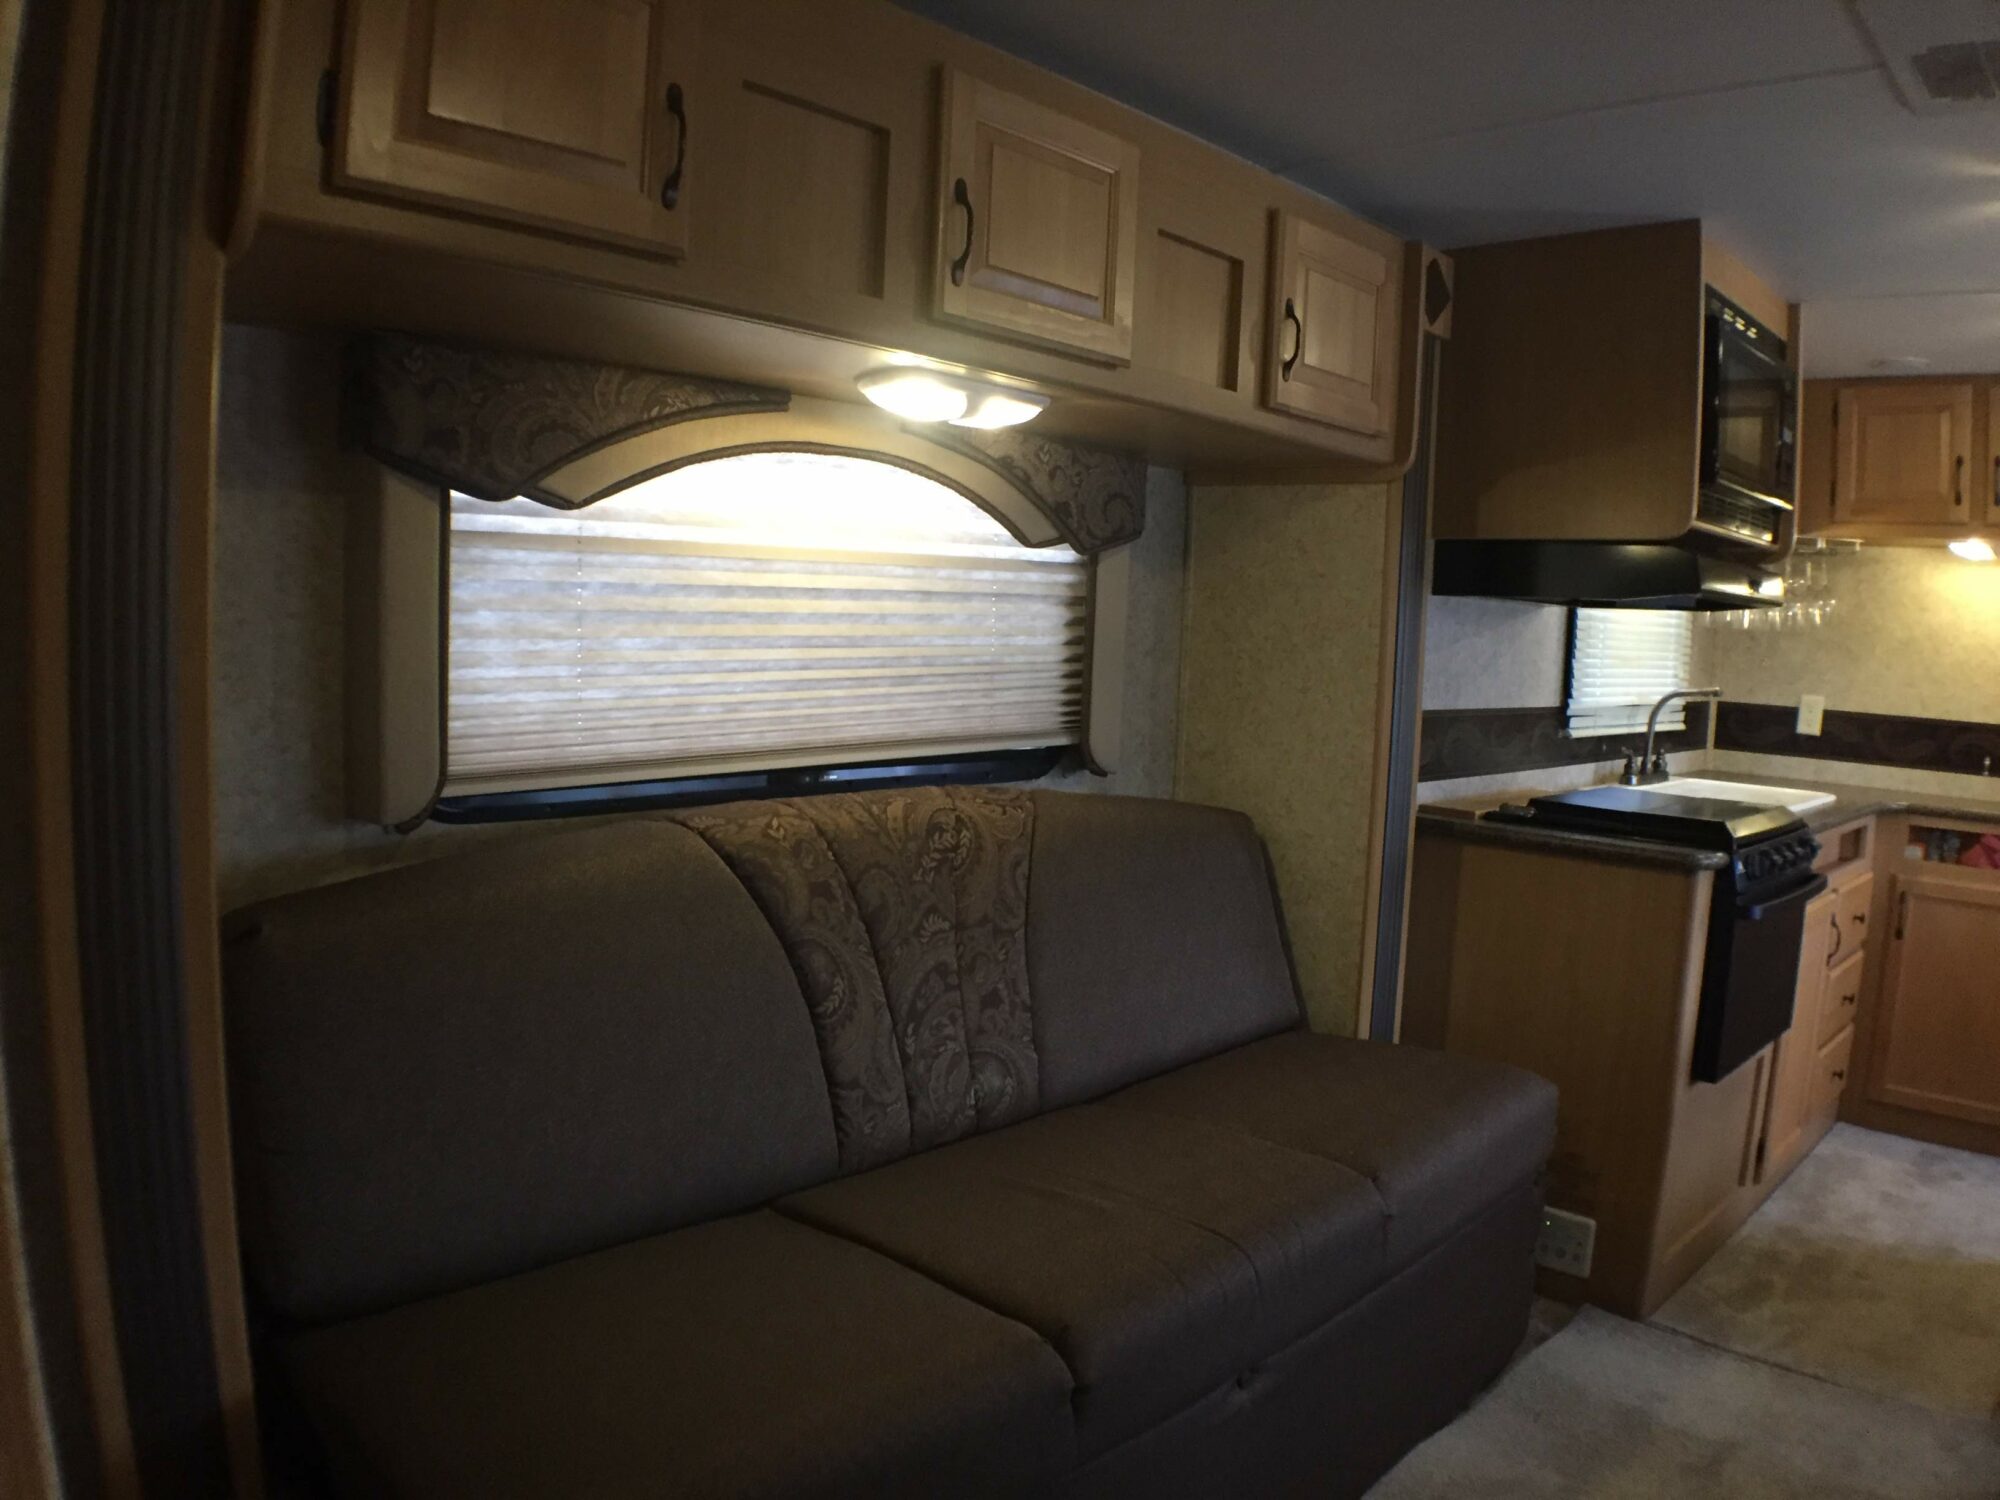
Refreshed living area
The biggest investment here was the reupholstered sofa and dinette and we’re so happy with how they turned out!
We hired an expert to help with this step. Hope at Re-Luv'd Custom Upholstery has lots of experience re-covering RV and boat furniture. She helped us chose a neutral fabric to make it easy to change the look with new pillows and throws in the future, without marrying us to a specific colour scheme.
We chose a neutral paint for the same reason. Benjamin Moore's Aura paint is always our go-to as it has great coverage and no VOCs. This is the first time we've worked with a satin finish. It's 'scrubability' has already proven its value as the walls have seen the demise of several early-season mosquitos!
The peel-and-stick, shiplap wallpaper was an impulse buy. It jumped out at me while we were picking up paint at Oakville Paint & Decor Centre. It has that “rustic-yet-bright” look we were going for. We didn’t fully research the product and were concerned about some less-than-positive reviews that cropped up after we made the purchase. But it looks exactly the way I’d hoped and so far it’s staying in place.
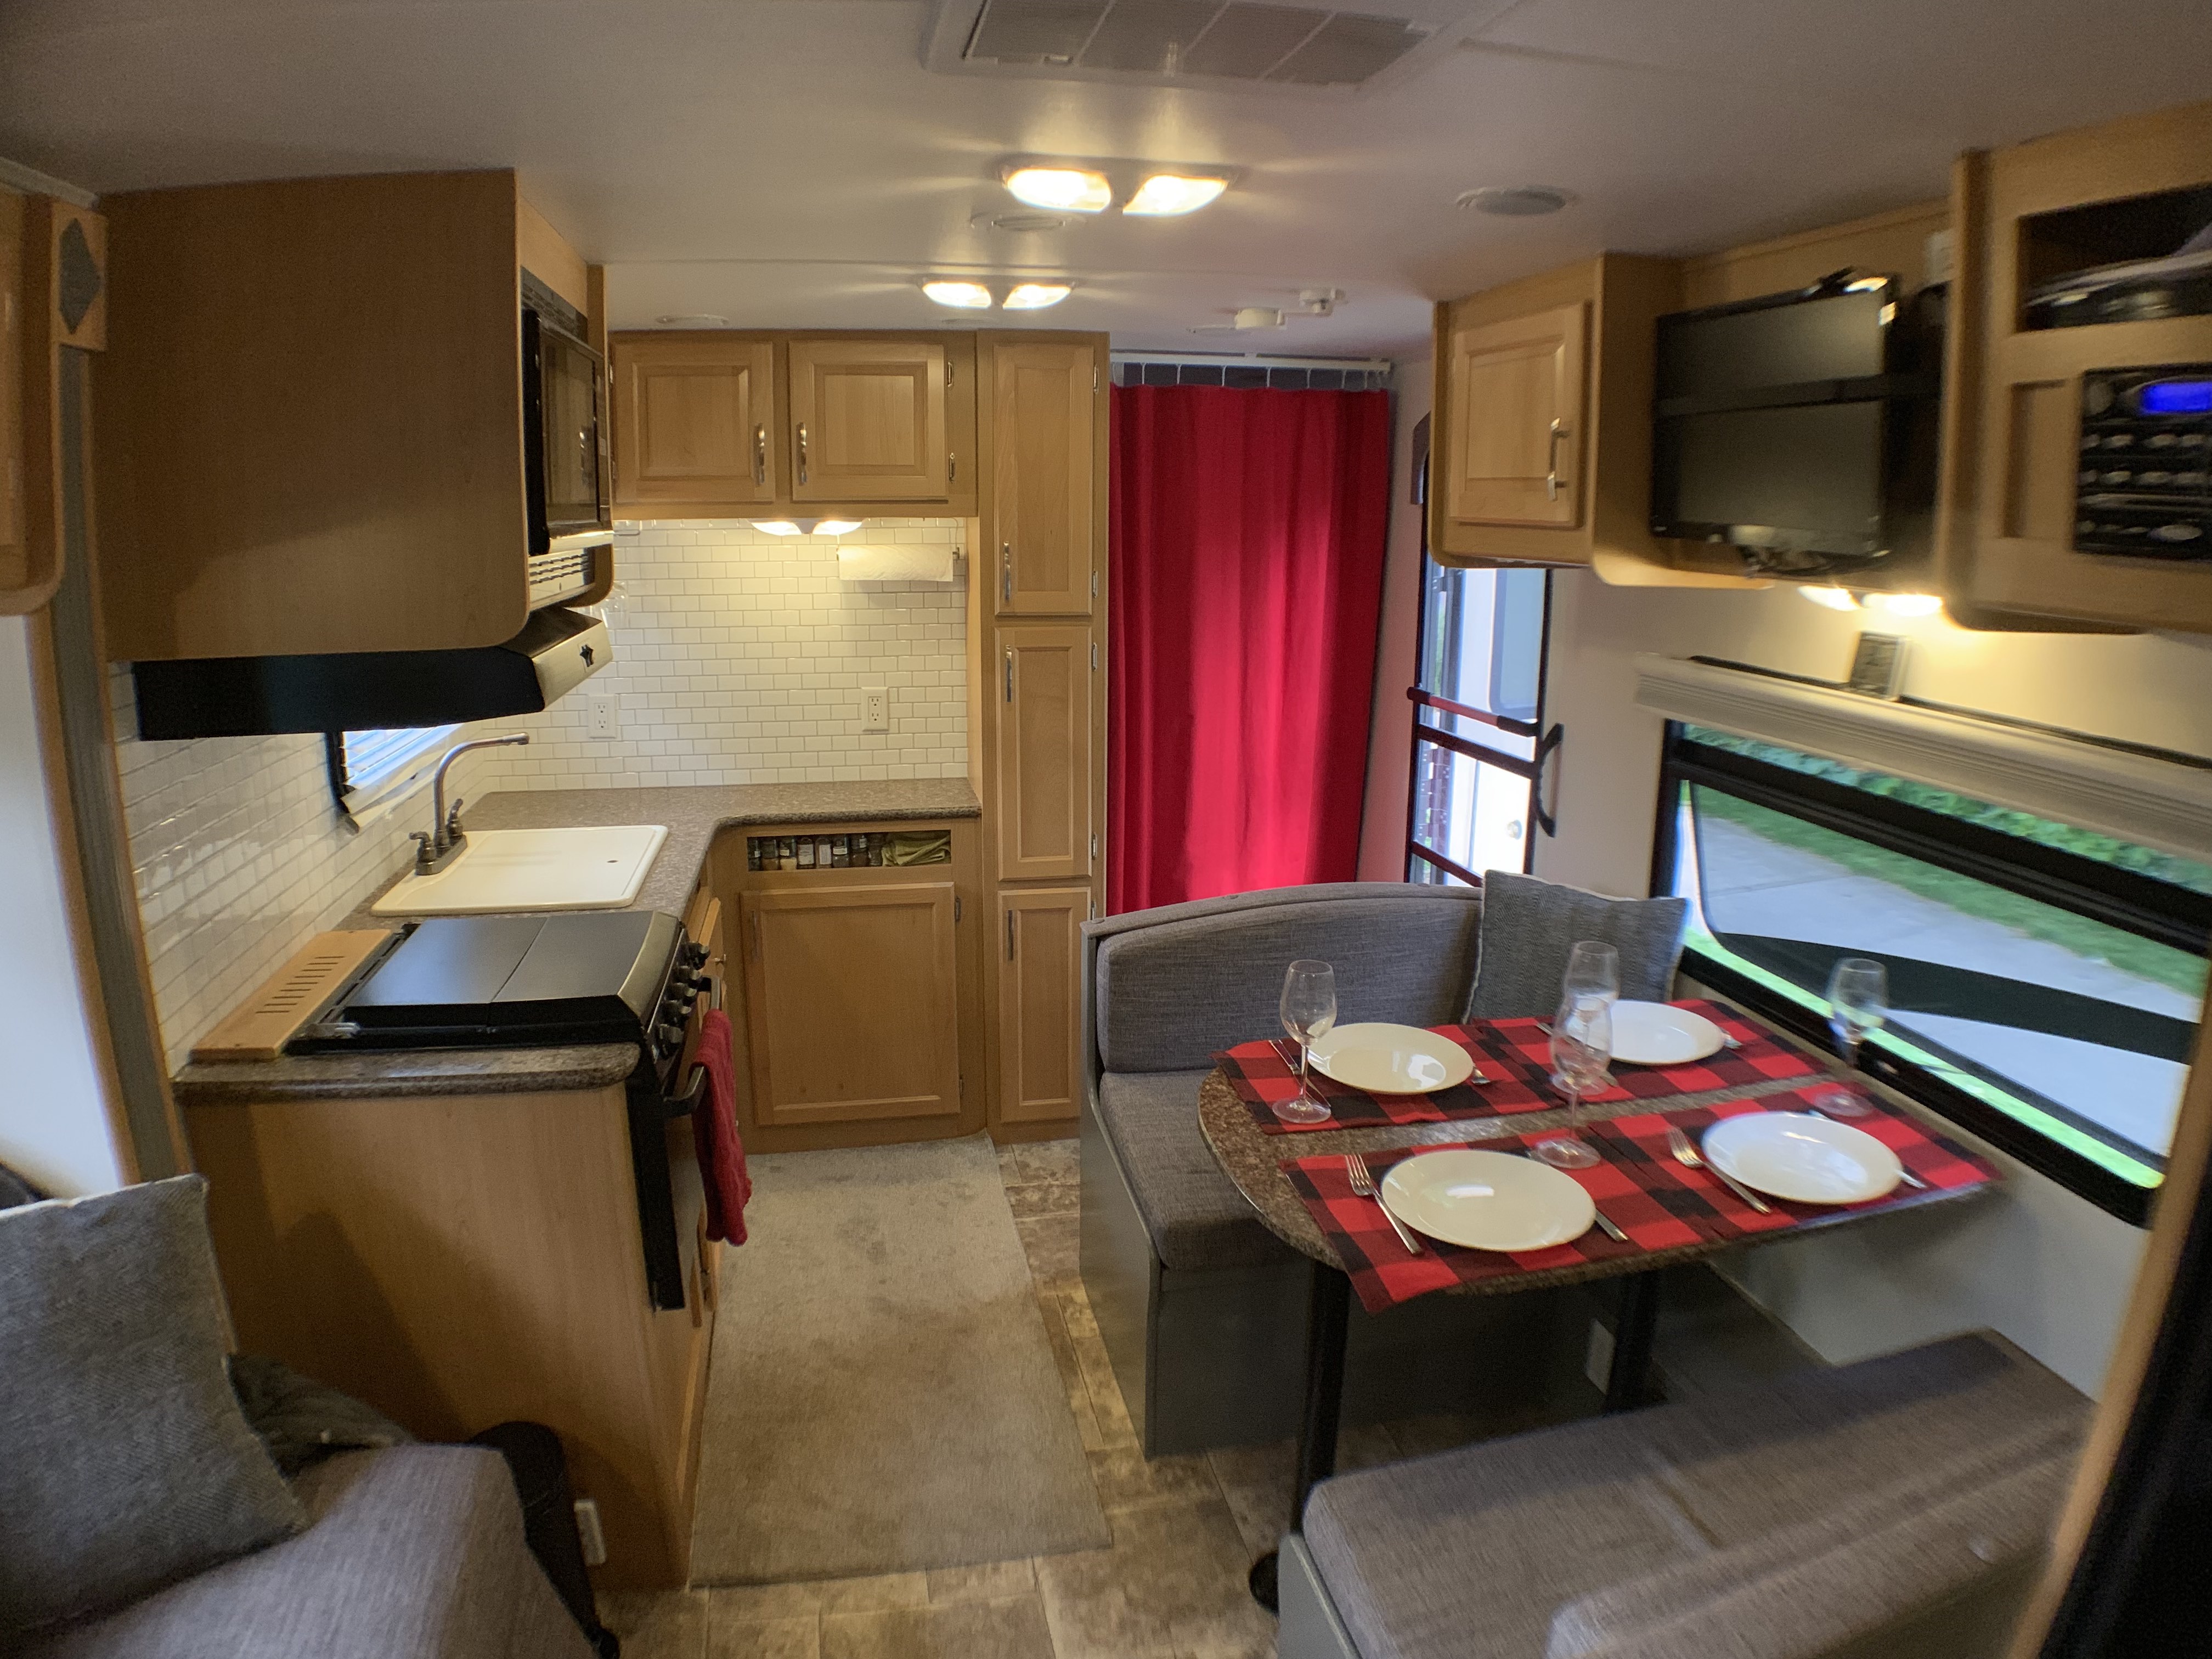
A new look for our RV kitchen
That backsplash! We looked at peel and stick Tic Tac Tiles for years and I’m so glad we finally took the plunge. They really brighten up the kitchen and make it feel more like a ‘home kitchen’ vs. a ‘trailer kitchen,’ if that makes any sense? In fact, if our only change had been to add these tiles, I think I would have been happy (don’t tell Colin!).
Updated sleeping areas
We carried the red/gray colour theme into the sleeping areas with some new, and very inexpensive, duvet covers from IKEA.
Let’s talk about these blinds! When Colin ripped out the sofa for reupholstery, he also removed the fabric-covered valances from all the windows. We planned to recover those as well, but once they were down, we loved how our space felt more open and brighter.
Plan B was to get some inexpensive, cut-in-store blinds from Home Depot. However, when we were ready for them, we realized the cut-in-store blinds only come in one length: long! Too long.
We shopped around online and got a good deal on these blinds from SelectBlindsCanada.ca. However, they were definitely more of an investment than we’d planned. They’re blackout cellular blinds and do a great job of blocking out early morning summer sun, but also keep the trailer nice and bright thanks to the white colour.
Lessons learned from our first trailer renovation
As with any project, we learned a few things with this trailer renovation or trailer makeover.
-
Preparation is everything
Shout out to Colin who did a TON of work to prep the trailer before the remodelling began. Secretly, I think he was just super-keen to get started back in the early spring, but it was still too cold for painting, so he spent a lot of time cleaning. He washed the walls and ceiling, filled little holes and nicks, and sanded things smooth to get ready for paint.
A big shout out goes to Rustoleum Canada who provided us with some fantastic products that made this work much easier. These included a great water-based cleaner called Krud Kutter. This stuff did an awesome job of removing oils from the walls and cabinets and pulled off tons of dirt and scuff marks in general. As a result, the primer and paint went on really nice and smooth.
-
Painting in tight spaces is time-consuming!
I didn’t think it would take long to paint the interior of our trailer. As investment property owners, we paint rooms all the time! But I’ve never painted a room with so many corners, nooks and crannies.
That meant lots of cutting in. And lots of contortionist moves as we crammed our bodies into awkward little spaces. That also meant wearing a lot of paint!
-
Little changes can have a big impact
A lot of trailer renos we’ve seen include painting the cabinetry white. We considered this; however, the blonde wood in the TCC was already nice and bright and we didn’t mind the look.
Instead, Colin changed the handles and hinges from the old, oiled bronze to new brushed nickel. It’s amazing how this small change alone brightened up the space!
Another great example: Colin painted the existing outlets and light switches. These looked really dingy--especially after the walls got a fresh coat of paint. He used Painters Touch Multi-Purpose Spray Paint from our friends at Rustoleum. It didn't take that much time and they look like new!
-
Do your homework!
For most of the products we used, we did a bit of research before making the purchase (except the wallpaper!). Nothing extensive, but Amazon reviews alone can give you a good idea of what to expect.
Instagram is also an excellent source of inspiration and motivation. There’s a pretty awesome RV community out there always ready to provide suggestions and encouragement.
Our RV renovation wrapped up just in time to kick off the 2019 camping season. Overall, we’re really pleased with how it turned out.
Of course, now we’ve also got the bug to do more! We’d love to tackle the bathroom next, but for now, we’re going to kick back and enjoy the fruits of our labours.
You May Also Like