Canning Preserves at Camp
This weekend marked one of our favourite annual camping traditions: canning preserves at camp.
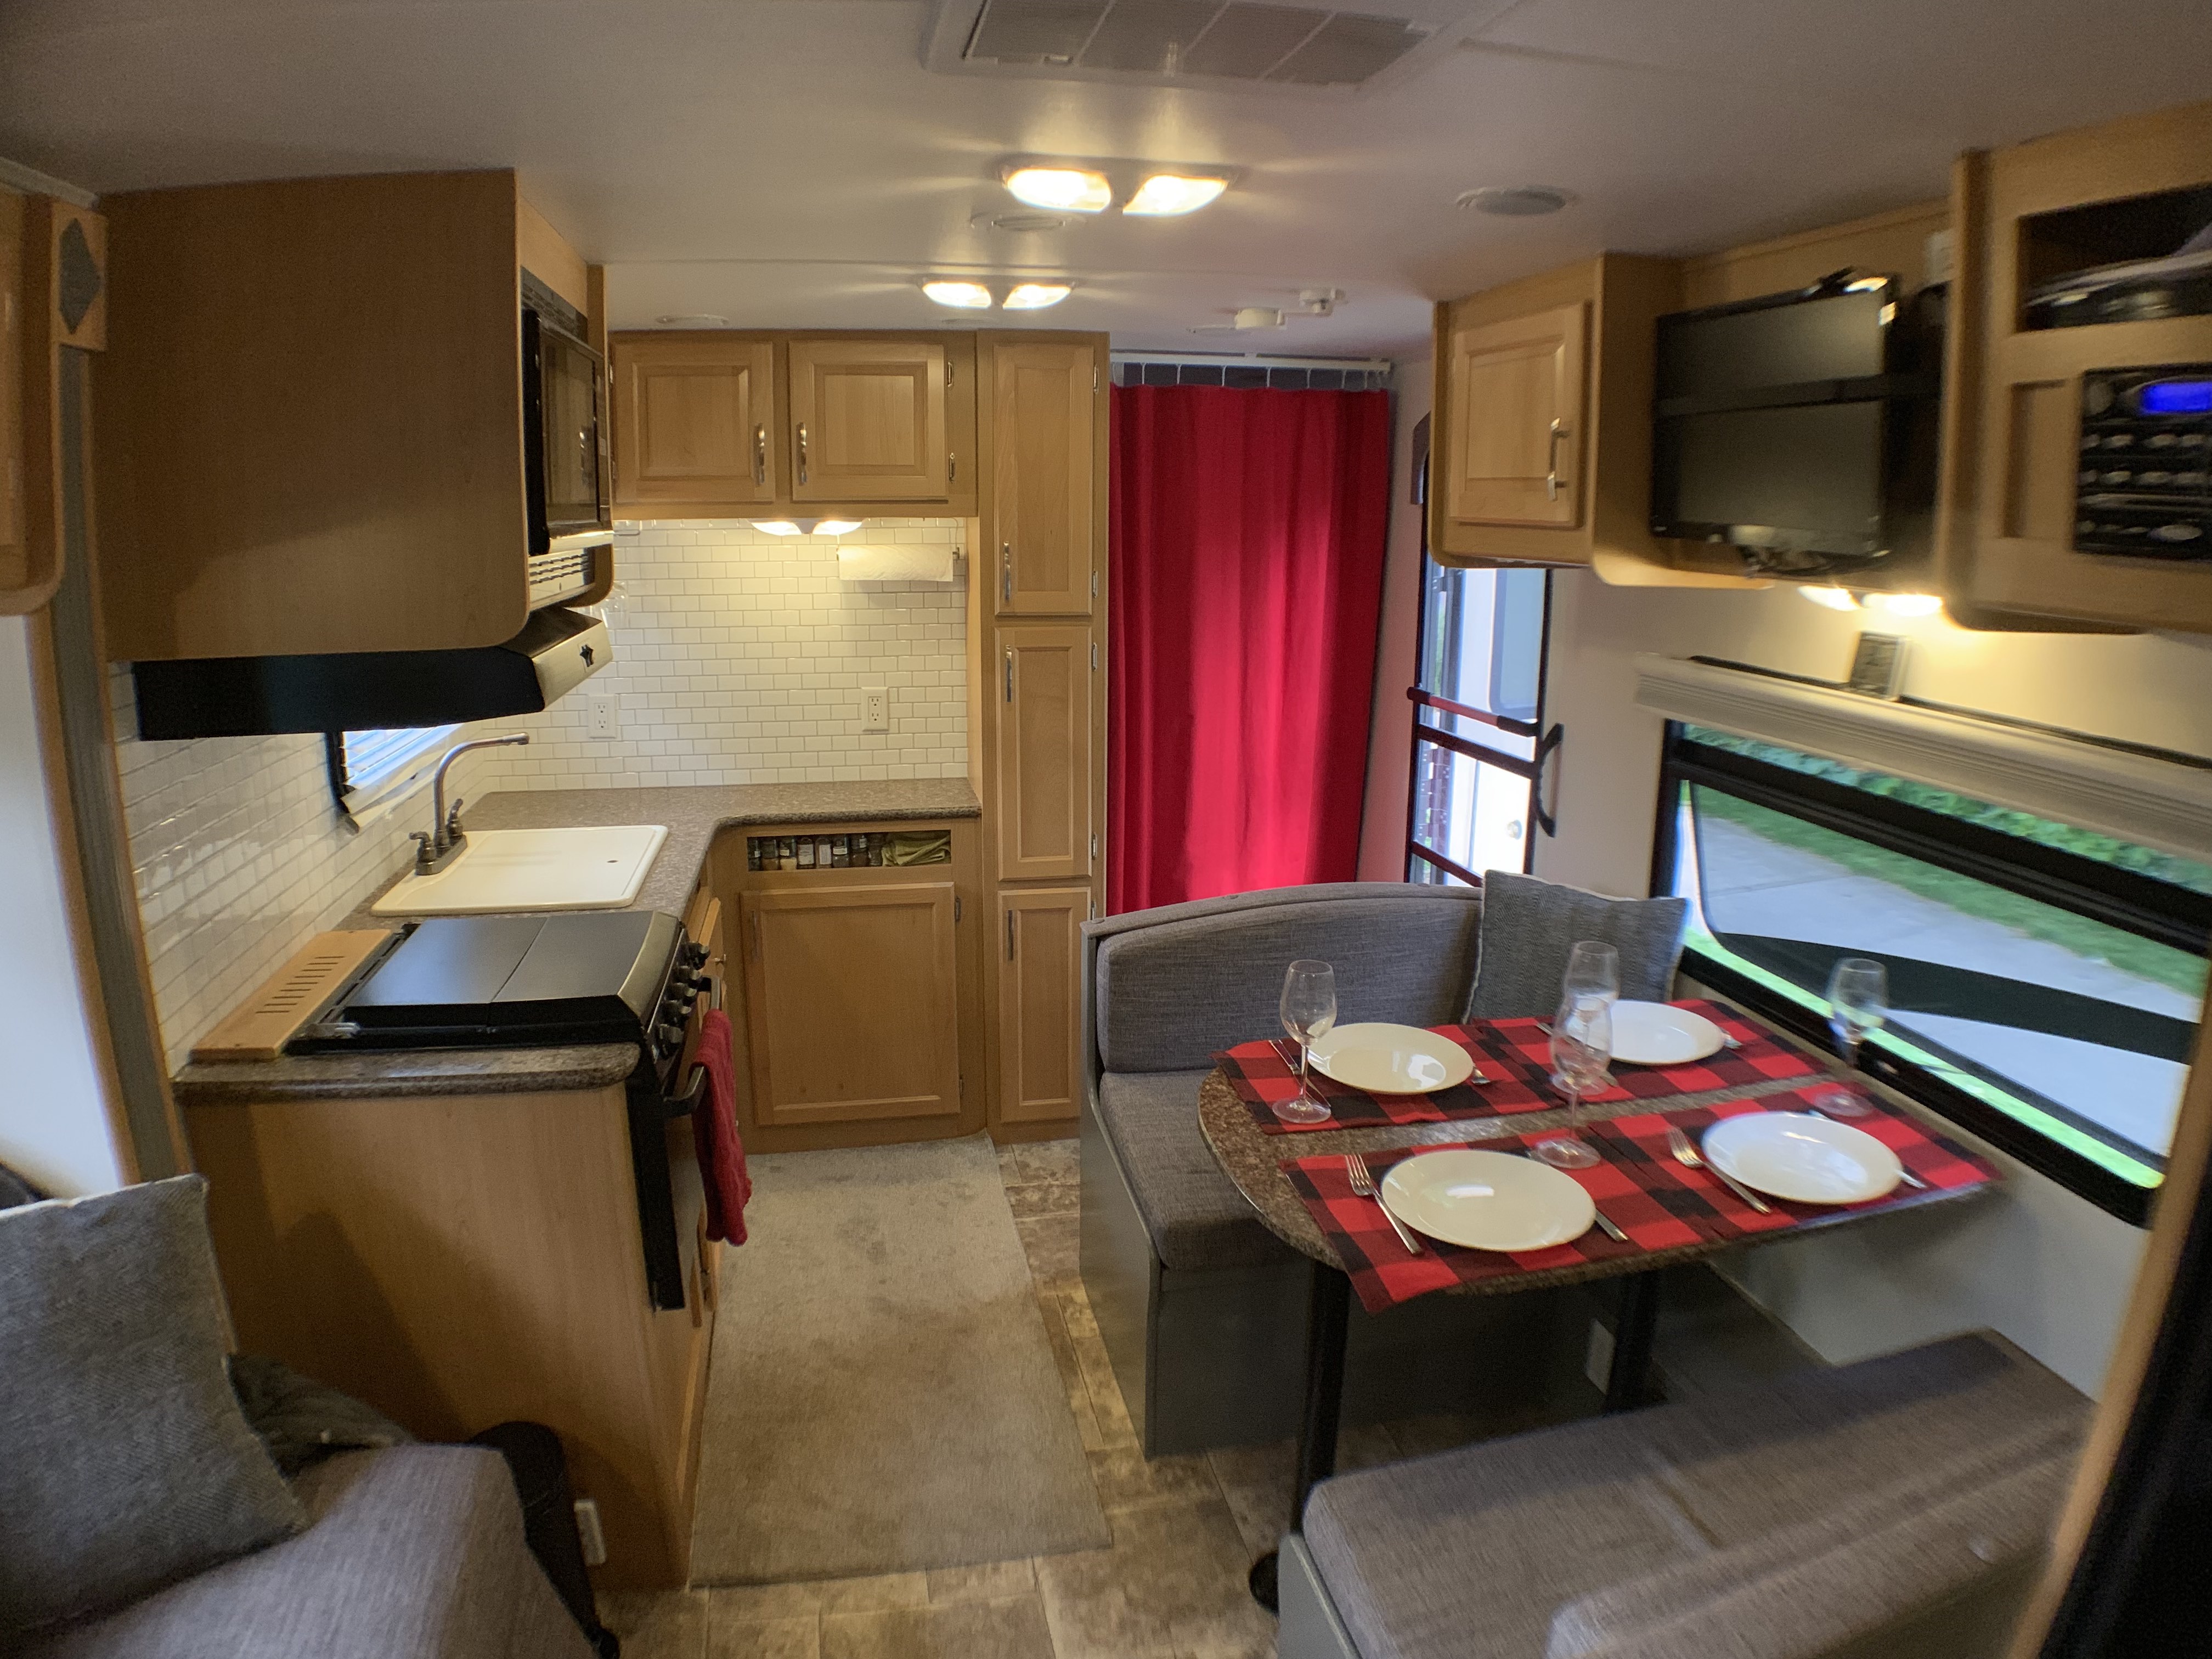
I don’t remember exactly where the idea came from, but it went something like this. A group of us were at camp, sitting around the fire, discussing one of our favourite subjects: food. Someone (likely Colin) mentioned they would like to try canning some of the amazing fresh fruits and vegetables available at this time of year. Someone else (okay, also likely Colin) suggested we could do it at camp, because we just happen to own a 90,000 BTU, three-burner outdoor propane stove (have I mentioned Colin is a Scouter?!).
And that’s how “Canning Camp” was born.

Why can preserves at camp?

You might be thinking, “why on earth would I want to can preserves at camp?”
First, it’s hot and messy. There’s a lot of peeling, chopping, mixing, cooking, and boiling, not to mention storing of those beautiful, colourful glass jars of goodness. I’m starting to twitch just imagining that scene in my kitchen.
But, at the campground, we have space! Need more surface area? No problem--grab another picnic table! And, when you use camp stoves, the heat is kept outside, so you’re not stuck in a stuffy kitchen.
Second, camping is more fun with friends and family. And friends and family mean more hands to peel, chop, mix... you get the picture. Plus, the more people you have, the less time it takes.
Planning a canning camp
This is our fourth annual canning camp and we’ve refined our process a bit over the years. It goes something like this:
1. Pick a weekend close to the end of summer, or whenever fruit and veggies are at their peak in your part of the world. We always aim for the last weekend in August, before the Labour Day long weekend.
2. Invite friends and family and get them to commit as early as possible so you can….

3. Book an appropriate camp site, or sites depending on the number of people. We always book sites at Laurel Creek Conservation Area in Waterloo, Ontario, because it’s super close to the St. Jacob’s Farmer’s Market. It’s an amazing market, chock full of produce at this time of year. We hit the market first thing on Saturday morning, so our produce is as fresh as possible.
Important note: if you plan to can something like peaches or another fruit that may need to ripen a few days after being picked, you may want to visit the market early. We made this mistake in our first year, buying a bushel of peaches only to find they were quite a bit firmer than we would have liked.
4. Plan your canning menu. Four years ago, only one or two of us had canning experience and we kind of bit off more than we could chew. We canned three bushels of tomatoes, one bushel of peaches, one bushel of potatoes (yes, potatoes. That’s a story for another day) and one bushel of peppers. It took us nearly 11 hours of solid work. We were cranky and hot by the end, but it was worth it.
Since that time, we’ve learned to look at things like are we going to hot pack or cold pack, and how long the jars need to process, to get a better sense of timing.

5. Plan your gear. Canning requires special equipment and jars--stuff that you’re not going to have kicking around your trailer. If you have lots of people coming, everyone can pitch in and bring some stuff. As I mentioned above, we buy our produce close to camp, but we do a pre-shop for things like olive oil, lemon juice and vinegar to get the best deal on those items.
6. Remember: the full jars need to sit for 24-hours before you move them. We always book a day off and stay at camp until Monday to be sure our jars are fully sealed before we take them on the road. Added bonus: that awesome feeling of popping a cold beer while you watch all the weekend campers pull out on Sunday afternoon! 🙂
Our 2019 preserves
We went back to some old favourites this year.
Yummy salsa with fire-roasted jalapenos
To be honest, we couldn't find the recipe we used last year, so we kind of adapted Fresh Homemade Salsa receipe from food.com. We doubled the batch and added 16 fire-roasted jalapenos and 6 green chilis. It's delicious! The heat kind of sneaks up on you.
Roasting the jalapenos over the fire was our own spin on the recipe. It adds a real smokiness to the flavour.

Fire-roasted red peppers
This is our third or fourth year for these and they’re amazing. We like them on pizza, in pasta or served as part of a cheese tray. They’re delicious on a cracker with a nice hard cheese like Gruyere. We use this recipe from Simply Recipes and we use shepherd peppers because they're quite a bit cheaper than red bell peppers, but just as tasty!

First, we roast the peppers over charcoal, using the campsite firepit. A great trick is to drop the roasted peppers into heavy paper bags and seal them up for an hour, or longer. The roasted peppers sweat in the bag, which makes it way easier to take the skins off for canning.

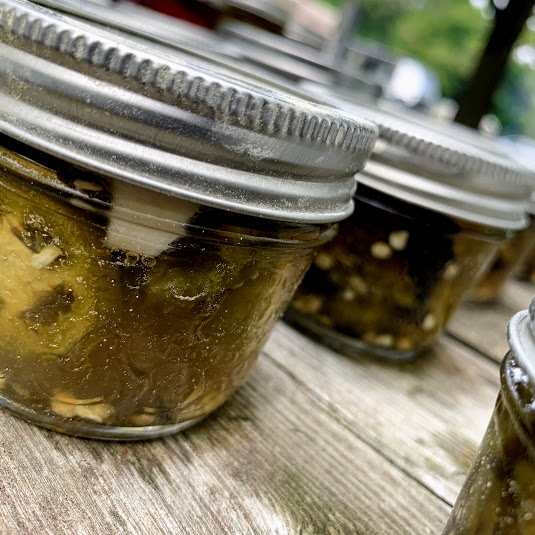
Fire-roasted jalapenos
These were a happy discovery from last year. We needed jalapenos for the salsa and bought a whole bushel because they were such a great deal. We were already canning some red peppers, so decided to roast up a few jalapenos to see how that would work. They were fantastic. The unroasted ones were good, too, but these... mmmm...


Pickled jalapenos
Because we had SO many jalapenos, we threw a few in a basic pickling brine as well.
So there you have it. Canning Camp. If you give it a try, we'd love to hear about it!